Maîtriser les crayons d'aquarelle : Un guide complet du débutant pour peindre avec précision
Watercolor pencils are one of the most versatile and exciting mediums in the world of art. They merge the control and detail of colored pencils with the fluid beauty of watercolor paints, offering the best of both worlds. Whether you’re a seasoned artist or a curious beginner, learning how to draw and paint with watercolor pencils can open a whole new avenue of creativity.
In this comprehensive guide, we’ll explore everything you need to know—from the basics of the tools to advanced techniques and tips for creating your own stunning artworks. By the end of this article, you’ll have a solid understanding of how to create beautiful watercolor pencil drawings that combine structure with softness, detail with diffusion.

1. Qu'est-ce qu'un crayon aquarelle ?
Watercolor pencils are water-soluble colored pencils that allow you to create art that mimics the look of watercolor painting. They look and feel like regular colored pencils but contain a binder that dissolves in water. When you draw with them and then apply water with a brush, the pigment spreads and blends like watercolor paint.
Key Benefits:
Control and Precision: Great for detailed work before activating with water.
Portability: No messy palettes or jars—just pencils and a water brush.
Versatility: Can be used dry, wet, or in combination for varied effects.
Layering and Blending: You can layer colors dry and blend them with water.
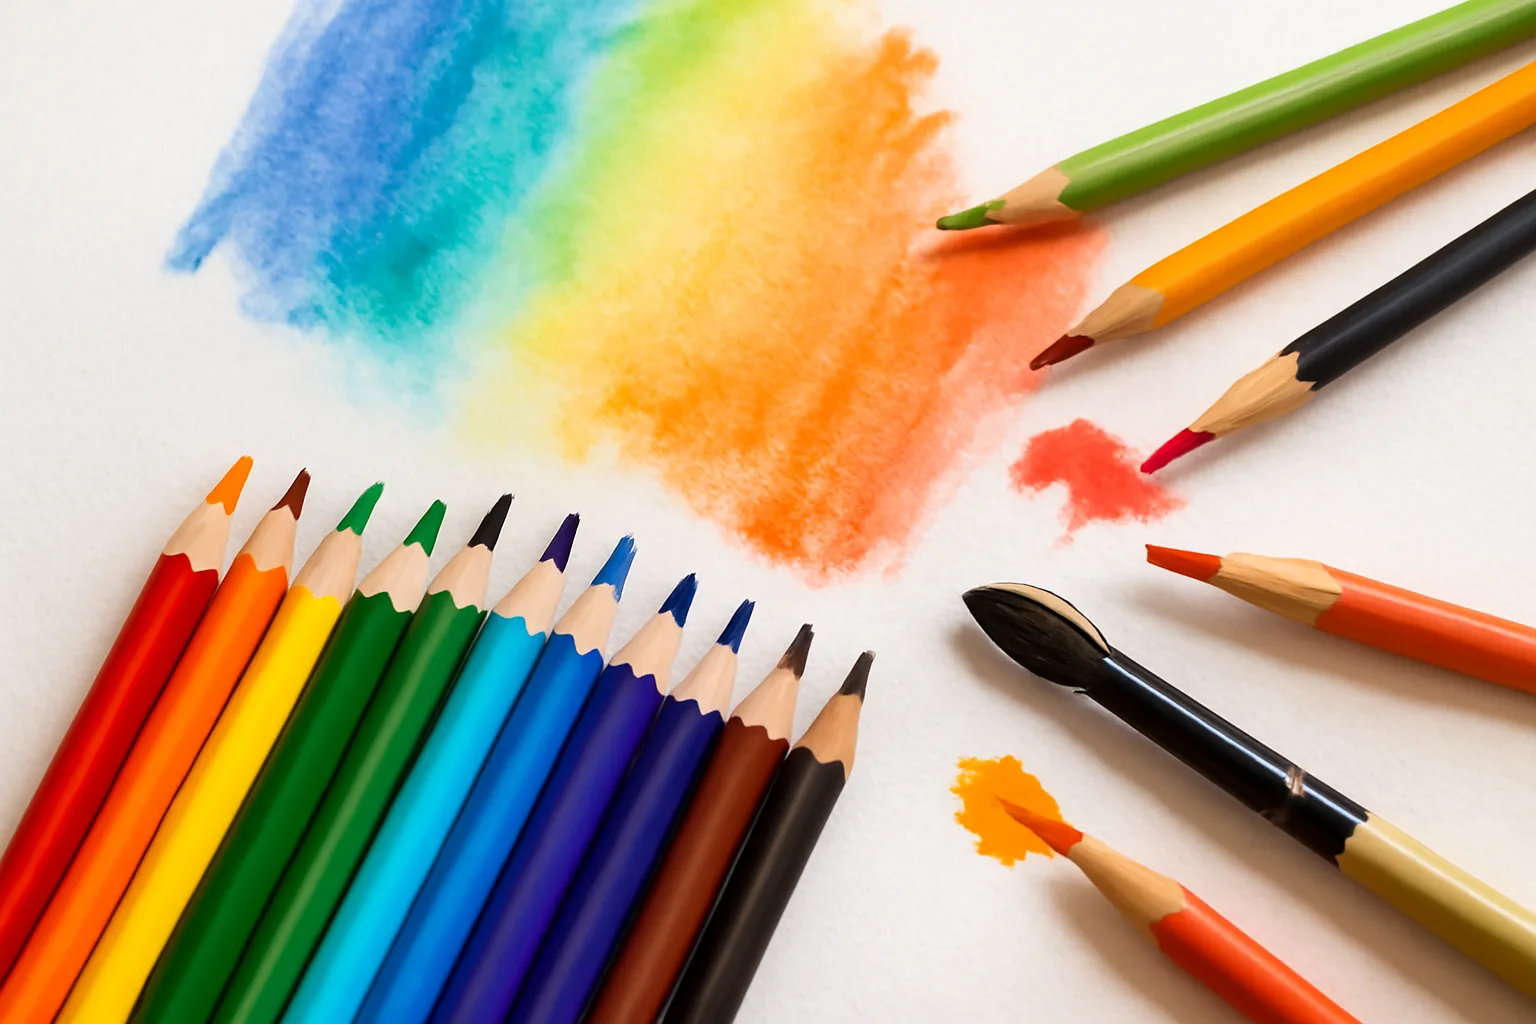
2. Materials You’ll Need
Before diving in, let’s look at the basic tools you’ll need to get started.
1. Watercolor Pencils
Invest in a good-quality set. Popular brands include Faber-Castell, Derwent, Caran d’Ache, and Prismacolor. Even a 12- or 24-color set is enough to begin.
2. Watercolor Paper
Use thick, textured paper (usually 140 lb/300 gsm or more). Regular sketch paper will buckle or disintegrate when wet.
3. Brushes
Use soft, round watercolor brushes or a water brush pen (a brush with a refillable water tank). These help control water flow.
4. Water and Cloth
You’ll need clean water for activating the pigment and a cloth or paper towel to blot and control water levels.
5. Pencil and Eraser
Sketch lightly with a regular pencil if needed. Use a kneaded eraser for gentle corrections.
3. Basic Techniques for Drawing with Watercolor Pencils
There are several methods to use watercolor pencils. The technique you choose depends on the effect you want and your level of control.
1. Dry-on-Dry Technique
Method: Draw with the pencil directly onto dry paper, then apply water with a brush.
Effect: Precise, detailed lines that soften with water.
Meilleur pour: Beginners, outlines, mixed media work.
2. Wet Brush on Dry Pencil
Method: Draw first, then use a damp brush to activate pigment.
Effect: Similar to dry-on-dry but allows more painterly blending.
Meilleur pour: Controlled painting with a soft finish.
3. Dry Pencil on Wet Paper
Method: Wet the paper first, then draw with a pencil.
Effect: Rich, intense color that spreads unpredictably.
Meilleur pour: Backgrounds, loose effects, abstract work.
4. Wet-on-Wet Technique
Method: Wet the pencil tip or brush, then apply to wet paper.
Effect: Blurred, dramatic effects with less precision.
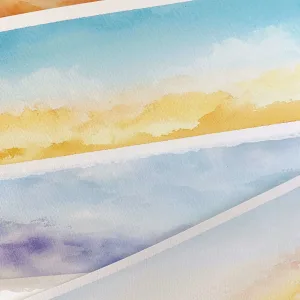
Meilleur pour: Atmospheric skies, landscapes, water effects.
5. Shaving and Mixing
Method: Shave pigment onto a palette, mix with water, and paint like traditional watercolor.
Effect: Smooth washes, custom colors.
Meilleur pour: Large washes or uniform color applications.
4. Step-by-Step Guide: Creating a Watercolor Pencil Drawing
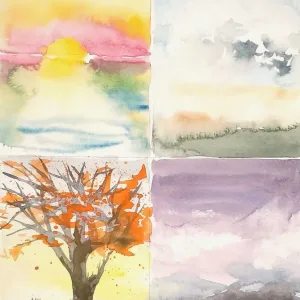
Let’s walk through a beginner-friendly project: a simple landscape scene with mountains, trees, and a sunset sky.
Step 1: Sketch the Outline
Lightly sketch your scene on watercolor paper.
Use a pencil or a watercolor pencil in a light color like yellow or light blue.
Step 2: Lay Down Base Colors
Use dry pencils to color your sky, mountains, trees, and foreground.
Apply lightly and layer gradually—don’t press too hard.
Leave white space for highlights.
Step 3: Activate with Water
Use a damp brush to blend the sky first. Clean your brush frequently.
Work top to bottom to avoid smudging.
Blend the mountain range, allowing the colors to softly transition.
Step 4: Add Texture and Depth
Once dry, add details to trees and rocks with dry pencil.
Use a wet brush to soften edges or add shadows.
Build layers gradually—allow sections to dry before reworking.
Step 5: Final Touches
Deepen shadows with darker tones.
Add fine lines and details with a sharp dry pencil or fine brush.
Enhance contrast between light and dark areas for realism.
5. Advanced Techniques and Tips
Once you’re comfortable with the basics, experiment with more advanced methods to elevate your work.
Layering and Glazing
Let each layer dry before applying the next.
Use this for shadows, color transitions, and building depth.
Cross-Hatching and Stippling
Use dry pencil for textured details, then blend selectively with water.
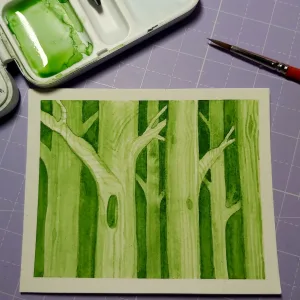
Negative Painting
Paint around the subject to make it stand out.
Useful for white flowers, snow, or light reflections.
Color Mixing
Mix colors directly on paper or pre-mix on a palette.
Complementary colors can tone down intensity.
Highlight Techniques
Preserve white areas for highlights.
Add white pencil or white gel pen at the end if needed.
6. Common Mistakes to Avoid
1. Using Too Much Water
Over-saturating the paper can cause warping, muddy colors, or paper tears.
2. Pressing Too Hard
Heavy pencil pressure makes it difficult to dissolve pigment and can damage paper texture.
3. Not Letting Layers Dry
Painting on wet sections can lead to unwanted mixing and backruns (water stains).
4. Skipping Practice
Start with small studies to learn how pigments behave before jumping into a full composition.
7. Inspiration and Practice Ideas
Practice Subjects:
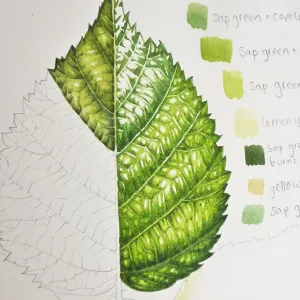
Leaves and plants (great for layering greens).
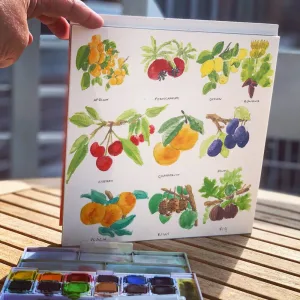
Fruits (study texture and color blending).
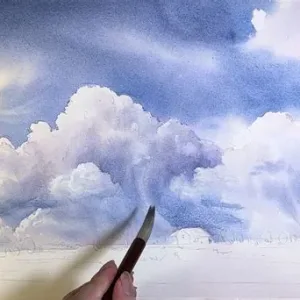
Skies and clouds (perfect for learning soft transitions).
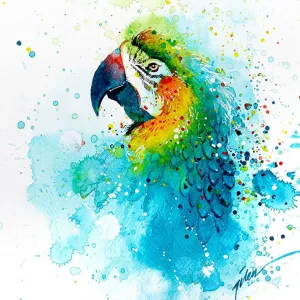
Animals (use dry pencil for fur or feathers, then blend).